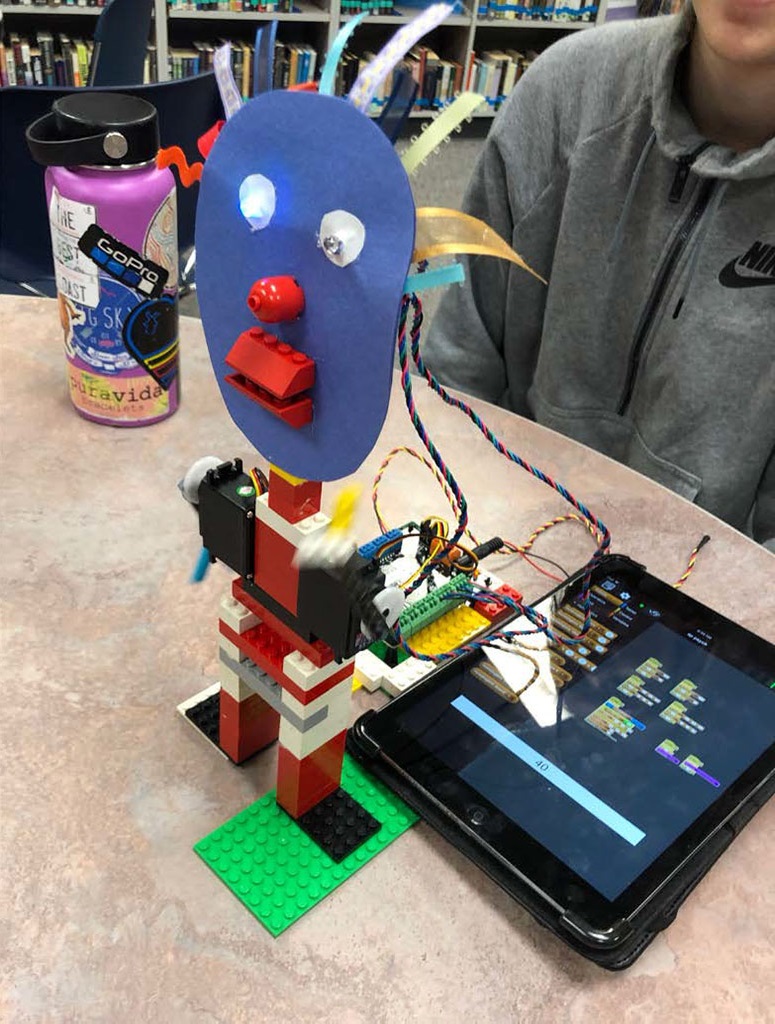
Top 10 Tips for Launching Your Makerspace

Makerspaces engage students and encourage critical thinking and collaboration, but getting started can be daunting. As two in-the-trenches K–12 librarians who have just created our own makerspace, we want to offer encouragement to those thinking about creating their own makerspaces. Here are our top 10 tips:
1. PICK A PROJECT
Ask students what they’re excited to see and try in the space. Then pick one project, tool, or strategy that will be your initial foray into your makerspace. Make sure the project includes elements that help define your library as a Future Ready program. Remember that hands-on projects that require collaboration will empower students as creators and lead to personalized learning.
2. FIND YOUR TRIBE
Reach out to librarians you admire and ask what has been successful in their spaces and what steps they took. Visit them if you can. Build a community of practice around making and set aside time to meet or share ideas virtually.
3. TAKE STOCK
Summer is the perfect time to assess your library and determine what you already have and what you need. It’s sometimes easiest to get started by making a small investment in a makerspace bundle.
Tech & Learning Newsletter
Tools and ideas to transform education. Sign up below.
4. FIND A PARTNER
Talk with teachers and identify someone who shares your passion for helping kids to be self-sufficient learners and creators and who’s willing to learn, grow, and fail with you. Work together to make an existing lesson or idea more engaging with the makerspace at the core.
5. ENLIST COMMUNITY SUPPORT
Make yourself and your project known. Enlist the help of parents and community members. Ask a parent to volunteer to lead a cardboard station or invite someone from the community to teach specific skills. Find a district administrator with an open door and let them know what you’re doing. Find clubs within your community (for knitting, engine building, knot tying, video creating), get to know members, and invite them in.
6. EXPAND YOUR NETWORK
Through social media, you can build a fantastic network of free information and expertise. On Twitter, follow and interact with makerspace experts. Use the Future Ready Librarians’ Facebook page to learn and connect with others.
7. KEEP IT SIMPLE
Evaluate and curate tools so you’re not overwhelmed by choices. Don’t be afraid to start small and with just one thing. Promote it, use it, make with it, then move on to another tool.
8. TELL YOUR STORY
Don’t let your success be a secret. Share successes as well as productive failures with both internal (school) and external audiences. Emphasize kids and their experiences, not the tools, and focus on the “why.” Why are you creating making opportunities in your library? To give every kid an opportunity to be a designer, creator, and maker.
9. FAIL FORWARD
Learn and iterate from near-successes. Celebrate failures without fear. When collaborators and partners see your reaction to failure, it makes the process less scary for them as well. Most important, keep trying!
10. PROPAGATE A MAKER CULTURE
Use initial successes to expand interest and encourage participation in your new makerspace. Create a making culture and help students and teachers enjoy the journey and get used to the unknown; the beauty of learning is not knowing how to do something or how it will turn out.
The most important step is to get started. Turn to those who have gone before you in the makerspace world for ideas and guidance. Colleen Graves, a librarian in Texas, has created a helpful website for librarians at all stages of the makerspace journey. Talk to us and we’ll help, too: @TraciChun and @BobbieLoweTL
Traci Chun is a teacher-librarian at Skyview High School; Bobbie Lowe is a teacher-librarian at Truman Elementary School. Both schools are part of Vancouver (WA) Public Schools. Traci’s school uses Follett School Solutions’ makerspace kits for elementary-, middle-, and high-school libraries.


