How To Use Keynote For Education
Apple Keynote is a powerful free tool for teachers to use in education for stand out presentations
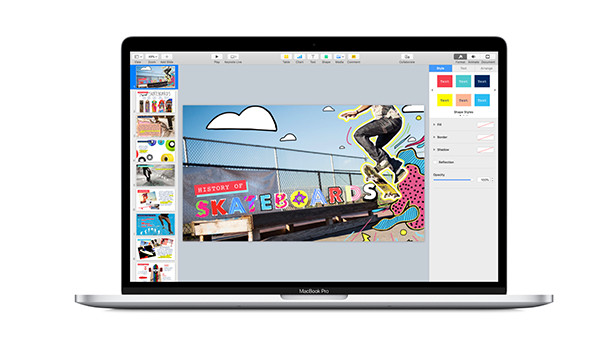
How to use Keynote for education is a great skill to acquire since it allows teachers and students to create the most powerful and engaging presentations. Apple Keynote is, at its most basic, a presentation slideshow creator. As an education tool, however, it can be very useful indeed.
One of the things that makes Apple what it is has been the ability to refine minimalism. The result is that often complex and powerful tasks can be made intuitively easy while still creating stunning results. Keynote does exactly that while looking very good, too.
As a result, teachers can create powerful presentations, and students can make compelling projects and more with Keynote.
So read on to find out how to use Keynote in education to enhance learning in the classroom and for remote teaching.
How does Apple Keynote work?
Apple Keynote can be found, for free, on iOS and Mac, so it works on iPhones, iPads, and Mac computers. But it also works on PC, via iWork for iCloud. It's on a touchscreen that this really shines though, offering a simple and intuitive interface for building presentations, even when you're on the go.
Since this works well on an iPhone, it can mean the ability to integrate images from the phone's camera, as well as online searched images, with the greatest of ease.
Of course, being Apple, it features lots and lots of fonts, themes, styles, transitions, and animations, all crafted to the highest quality for a professional finish to any project.
Tech & Learning Newsletter
Tools and ideas to transform education. Sign up below.
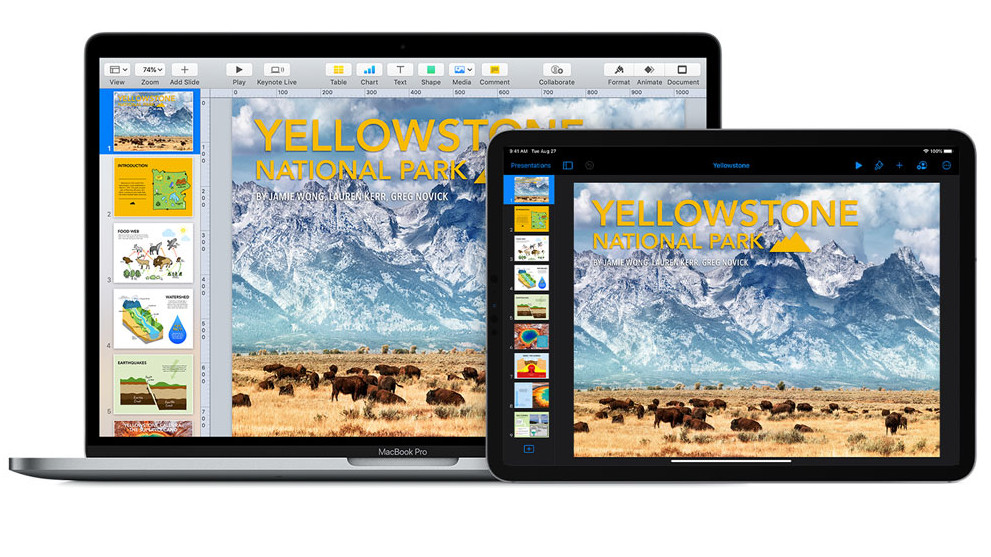
Sharing of presentations is also straightforward with the ability to play live from the device in use or via anything it is connected to. Or send your presentation via social media, or export as a PDF or even a PowerPoint to be played on any other device.
Keynote works with charts and graphs, making it a useful presentation tool for class. The addition of cinematic effects helps to make facts and figures more compelling and, hopefully, memorable.
Best Keynote features
One feature that is great for teachers and students alike is the remote mode. This allows one Apple device to control another. So you could have a presentation being displayed via an Apple Mac while the slide show controls are on an iPhone or iPad. A teacher can present while staying mobile, and also keep an eye on what is coming up next.
Keynote offers more than 30 themes, making it easy to get started without having to do it from scratch. Of course, that is an option too, should you want to be totally original.
On top of charts and graphs, there are more than 700 customizable shapes that can be used to make anything you need. You can even use an iPhone or iPad to scan a document and have it integrated into your presentation.
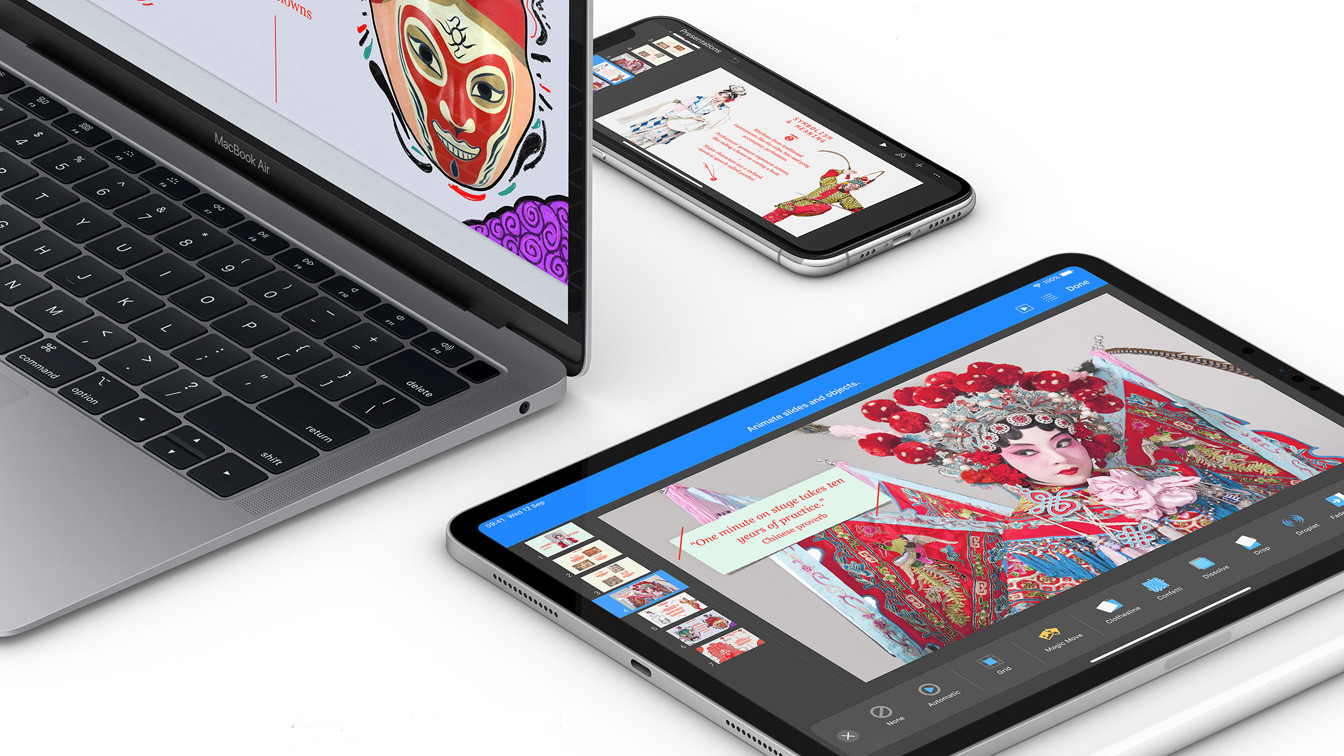
Transitions and animations are areas that make Keynote stand out against the competition, such as Microsoft PowerPoint and Google Slides. Objects can be animated along a path using just your finger on an iPad or iPhone. The ability to also use Apple Pencil, on an iPad, makes this super customizable and creative.
There are more than 30 cinematic transitions and effects that don't just apply to objects but also text. Personalization is possible too, with the ability to record and add narration audio, notes, and sounds, all using your device.
Keynote Live is ideal for remote learning as you can send out a single link to multiple students and have them all watch your presentation at the same time, live, wherever they are. Ideal if you want this to run while also in a video class as you talk over what is being shown.
Collaboration is easy, with work possible across multiple devices at the same time. This is great for teachers working on a project or for students working together on a presentation. Everything is saved to the iCloud Drive, live, so edits can be made easily for anywhere.
How to make a Keynote
Open Keynote and navigate through the theme options, which are categorized along the left by: Basic, Minimal, Bold, Editorial, Portfolio, Craft, and Textured. Select one and hit the "Create" button to get editing.
This gives you a Master Slide with which you can work. Then hit the "Add Slide" option at the top to make the next one of the presentation. Also up top are options to insert a table, chart, text, shape, media, or comments. This last one is particularly helpful when collaborating with others.
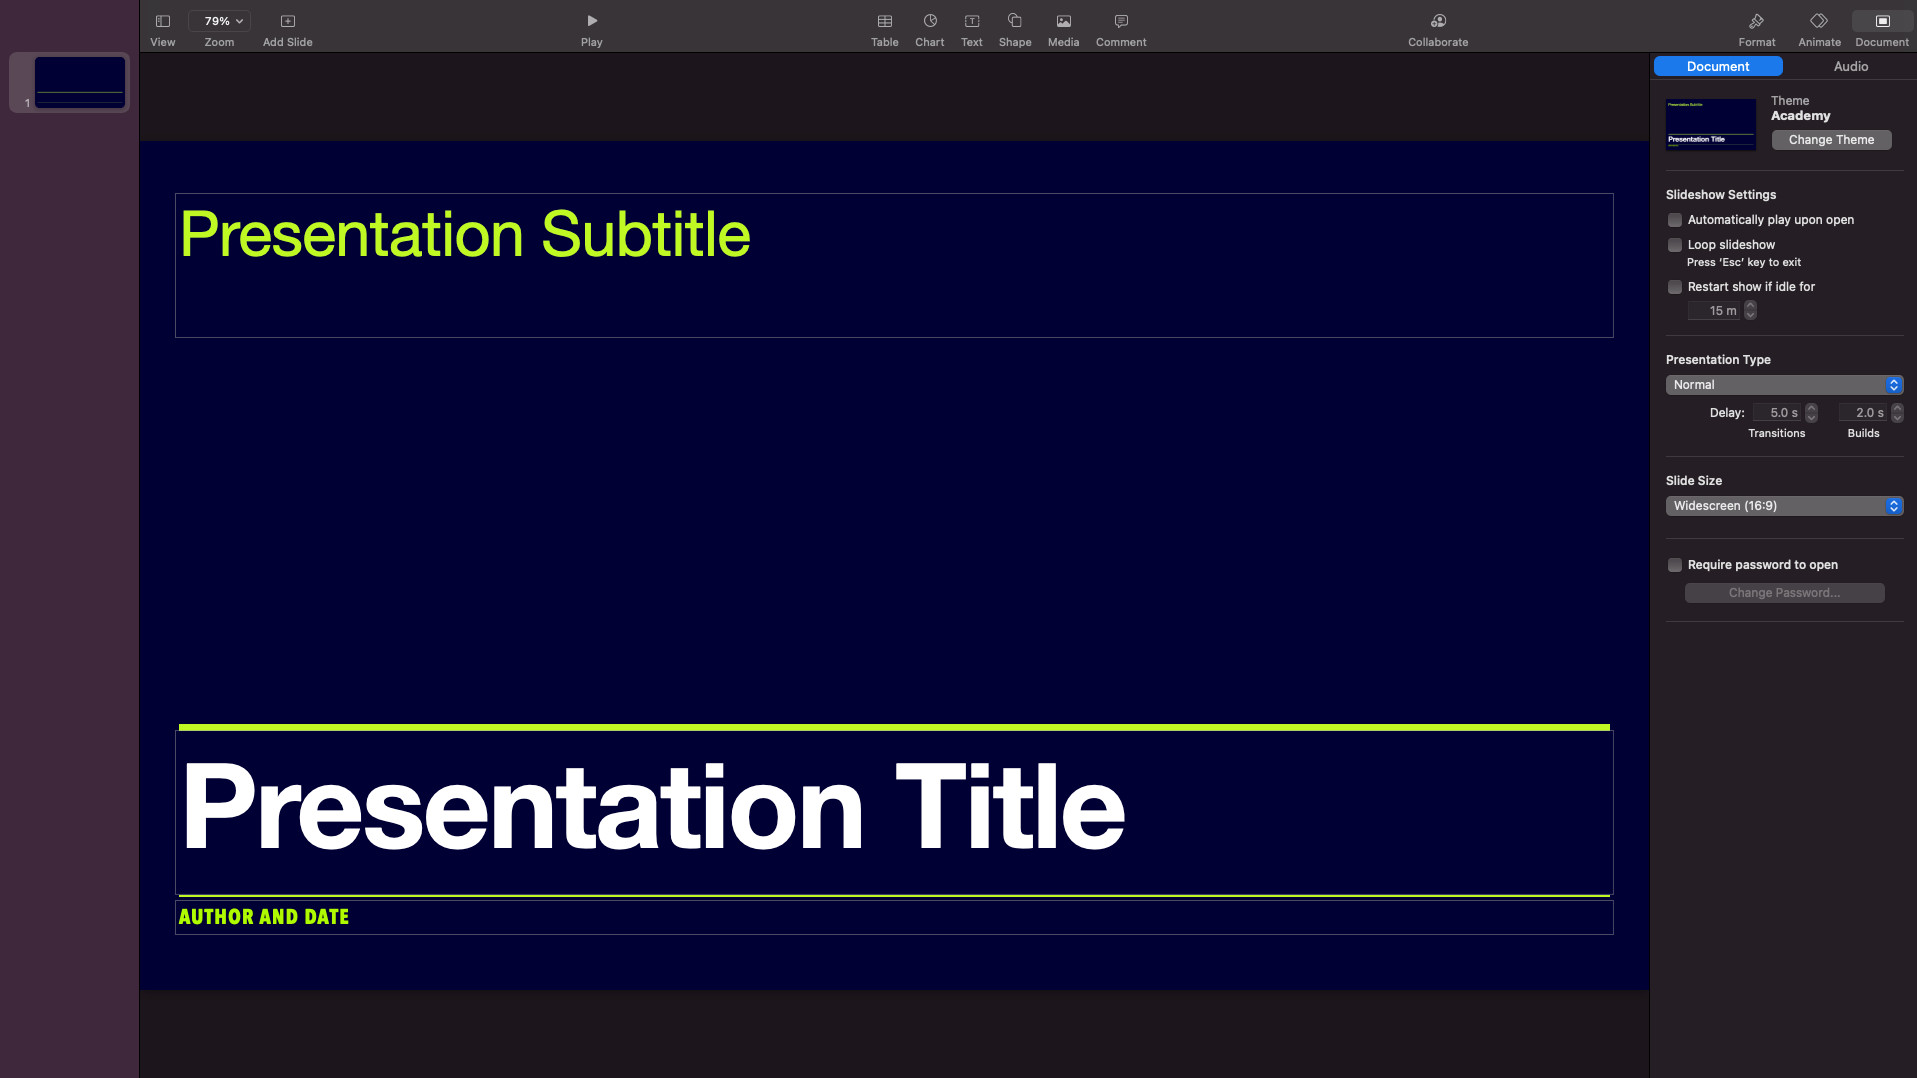
To collaborate, select the "Collaborate" icon at the top right then you'll be able to add more using the iCloud options.
To add an effect, select the "Animate" option at the top right and then "Add an effect" to pick from a list. You can also add transitions from just below that button with a useful automatic option available there.
At any point, you can select "File" from the top menu on a Mac and "Save" to make sure your project is being kept up to date.
Another useful option is being able to add a password. To turn this feature on, select "Document" in the top right, then check the "Require password to open" section at the bottom. This is ideal if you want to send out a presentation, perhaps a quiz, to the class but only have them open it when you provide the password.
Luke Edwards is a freelance writer and editor with more than two decades of experience covering tech, science, and health. He writes for many publications covering health tech, software and apps, digital teaching tools, VPNs, TV, audio, smart home, antivirus, broadband, smartphones, cars and much more.

