How to Setup Microsoft Teams Meetings for Teachers and Students
Use Microsoft Teams to hold class meetings with students for live work
How to setup Microsoft Teams meetings for students and teachers is more applicable these days than ever before. It is a great way for educators to hold meetings online for a class environment with students, no matter where everyone is. How to setup Microsoft Teams meetings need not be a mysterious process, as you now have this guide.
As an educator you might want to meet the entire class, or perhaps you simply want a meeting with a sub-group to go over a project you've set for them. Whatever the purpose, Teams allows you to see and hear one another over video chat while also having access to the various sharing tools for documents, calendar plans, and much more.
The easiest way to get a meeting setup is to use the Teams desktop client or web app. So this is where we will start.
If your school already uses Teams, then you should be able to pull in necessary data without worry as all your students should be on there. If not, adding invitees is an easy process.
Here's what you need to know about how to setup Microsoft Teams meetings for teachers and students.
How to start a Microsoft Teams meeting
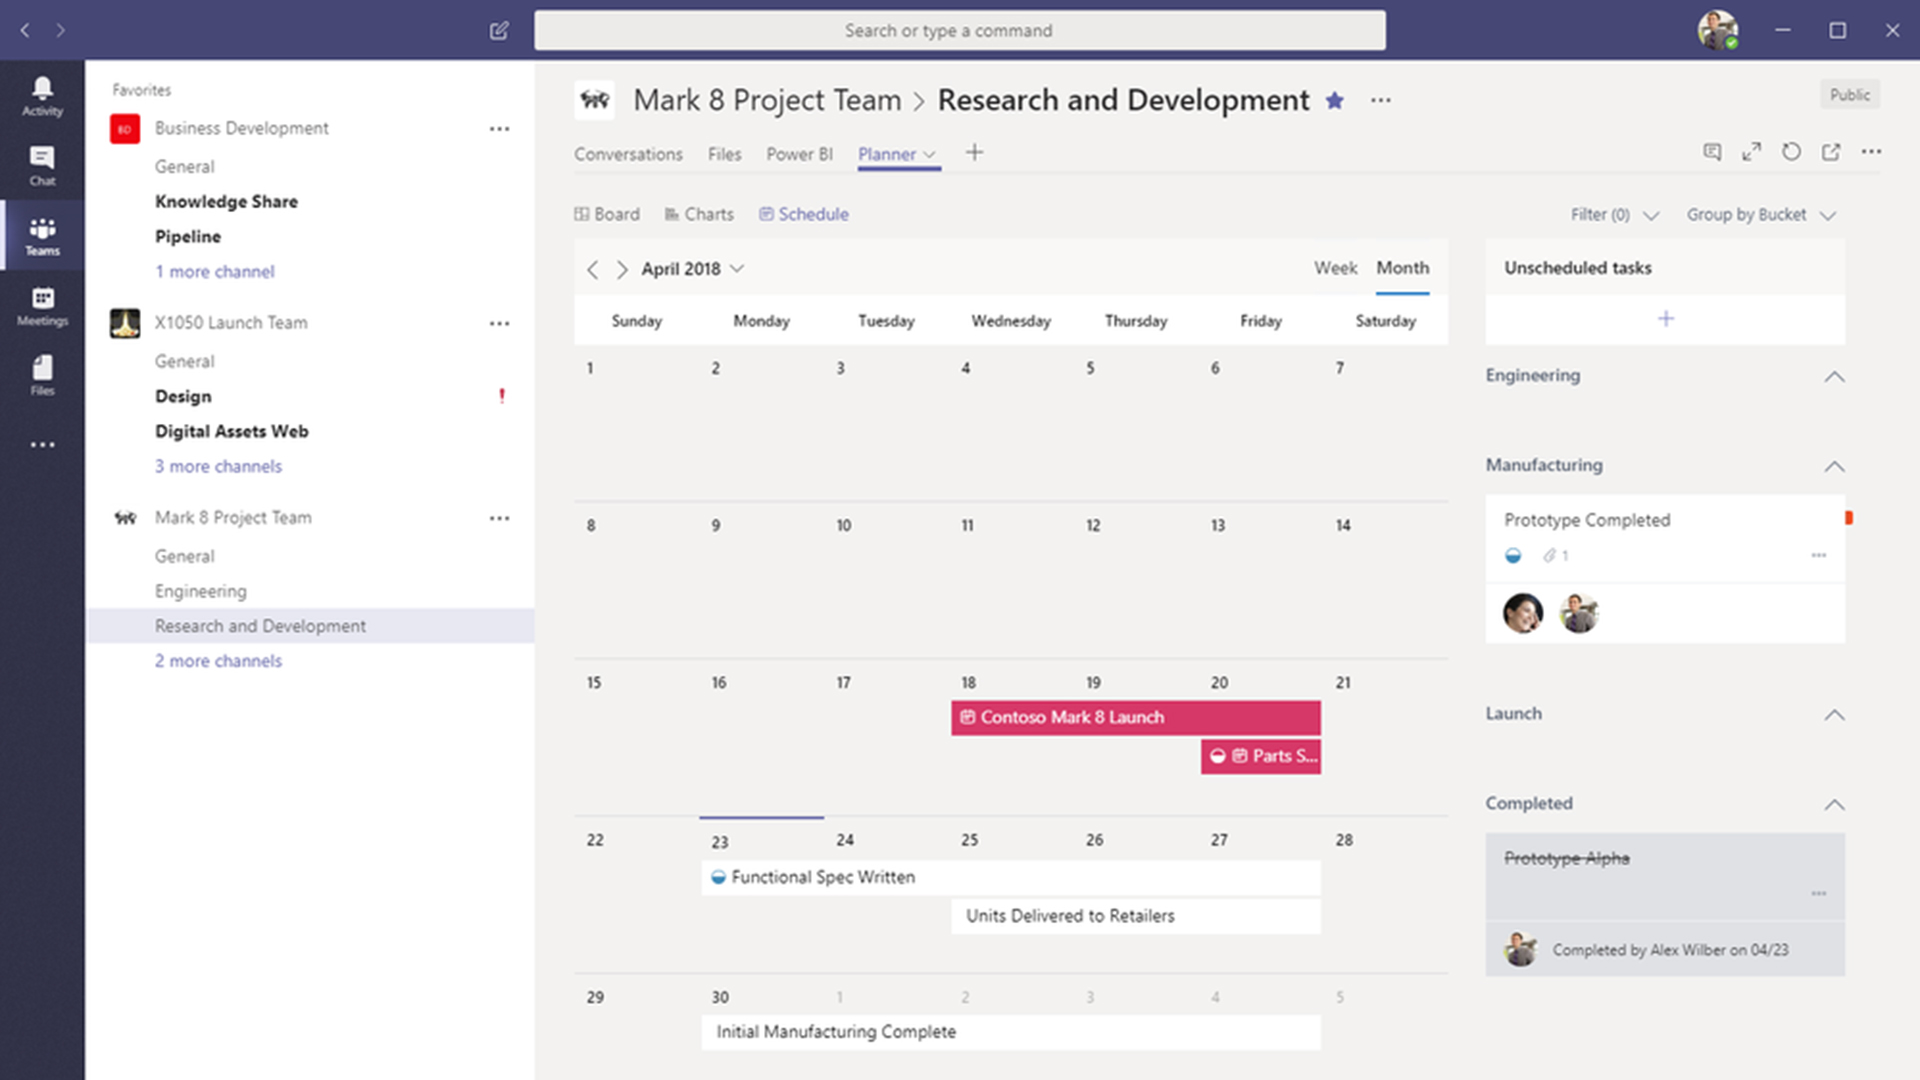
Begin by opening the Microsoft Teams desktop app or the web-based app. Whichever you pick, you'll first need to navigate to the Calendar tab on the left side and select the time slot in which you would like the meeting to take place.
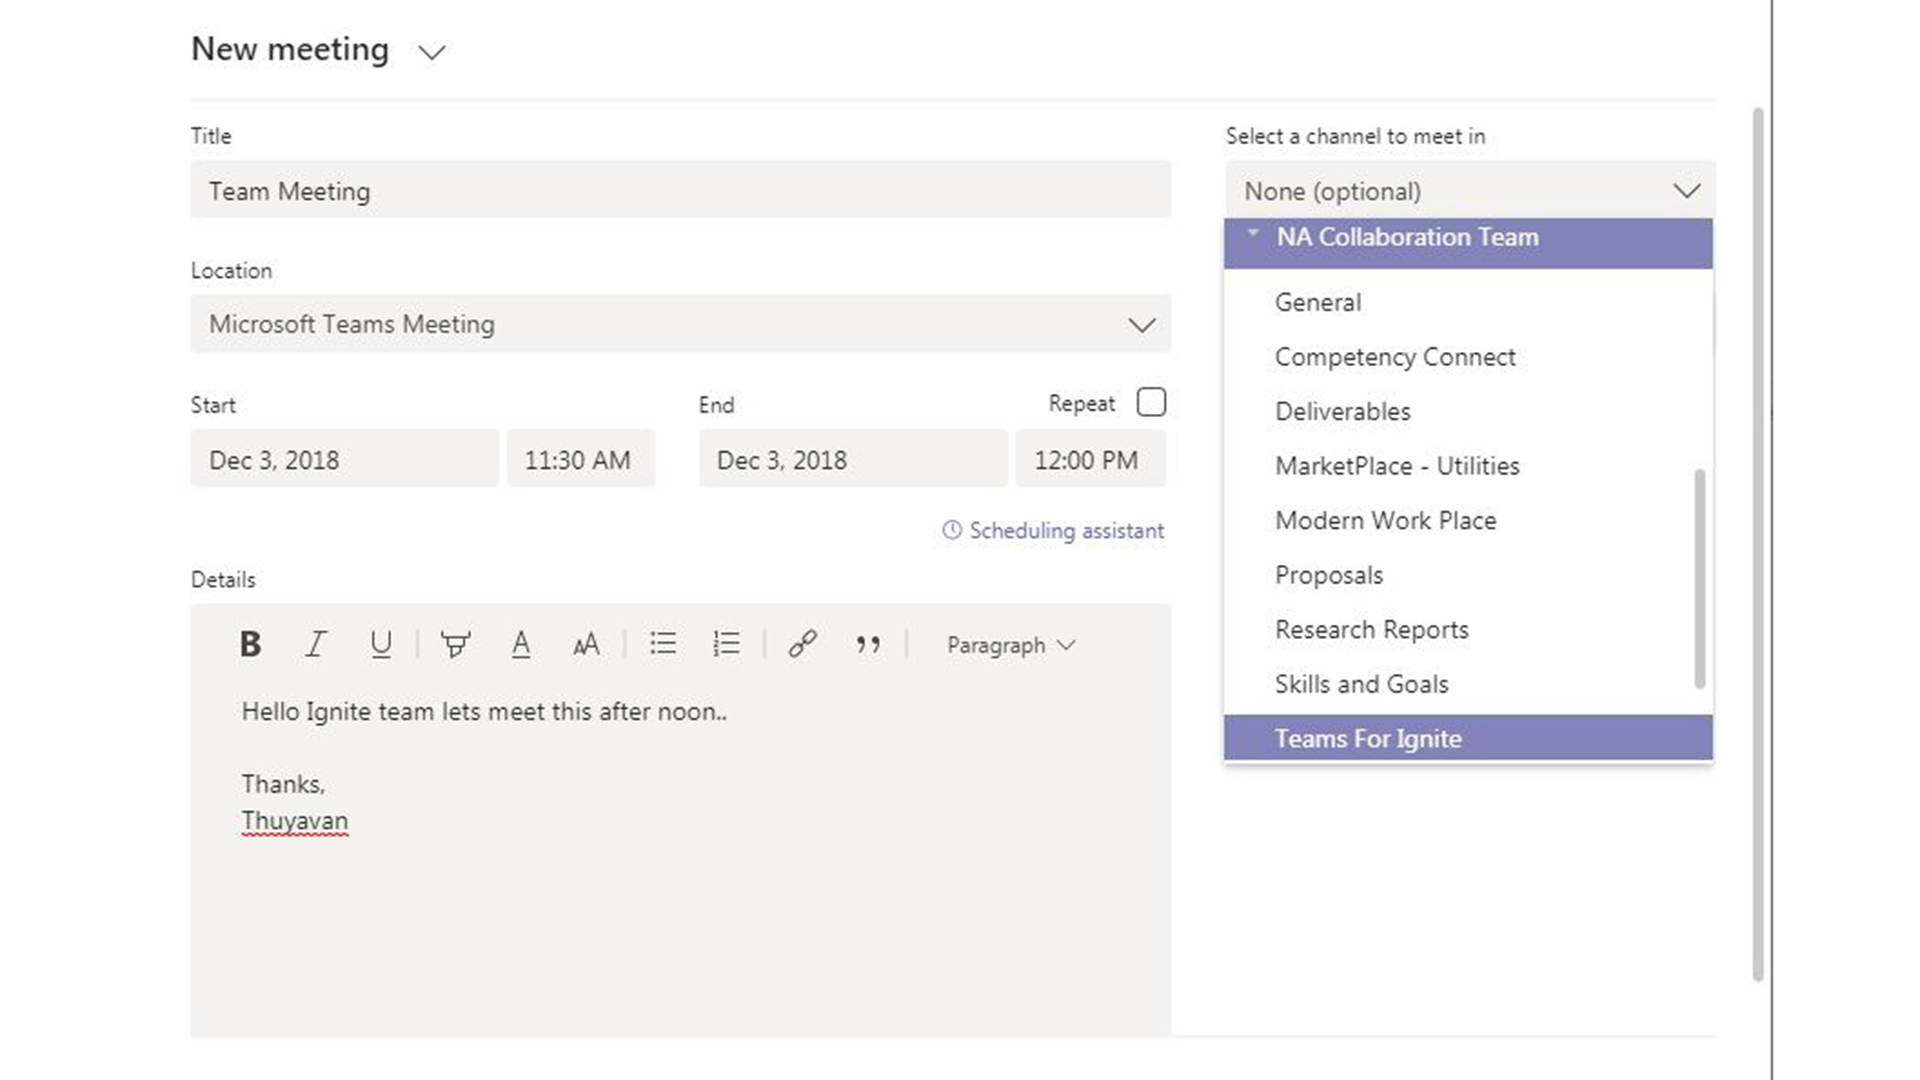
This will take you into a "New meeting" page. The time will already be set from where you selected, but to the right of that, in a drop down, you can select the end time so students know how long to leave open for your meeting.
Tech & Learning Newsletter
Tools and ideas to transform education. Sign up below.
You can add a title that doesn't have to be too detailed. At the bottom, in the body section, you can also add more details. This can include what the meeting is about, what needs to be brought or prepared beforehand, or anything else relevant to this meeting.
Next, you need to add students to the invite list. In the "Add required attendees" bar, you can start typing a student name and drop-down options should appear so you can simply select the student and their email will be auto completed. Or if you have a group name for a list that includes the whole class, that's a quick way to add everyone, if that's what this meeting includes.
When you're ready, select "Send" in the top right and it will be added to your calendar and sent to all the invitees.
How to add more students to a Microsoft Teams meeting
If you've created the meeting and sent the invite but then realize you want to add more students, it's not too late.
Select the meeting from the calendar view and simply add more names to the attendee list and you will see each appear in the sidebar. By doing it this way you will be notified on that person's status and whether they have accepted the invite. But there is another way of adding people.
Select the meeting from the calendar view, then scroll down in the body copy where you will now see it has been auto populated with a "Join Microsoft Teams Meeting" link underlined and in blue. You can select this as a link that can then be shared directly by you through email, text, or any other media method, to students or anyone else by using their contact details.
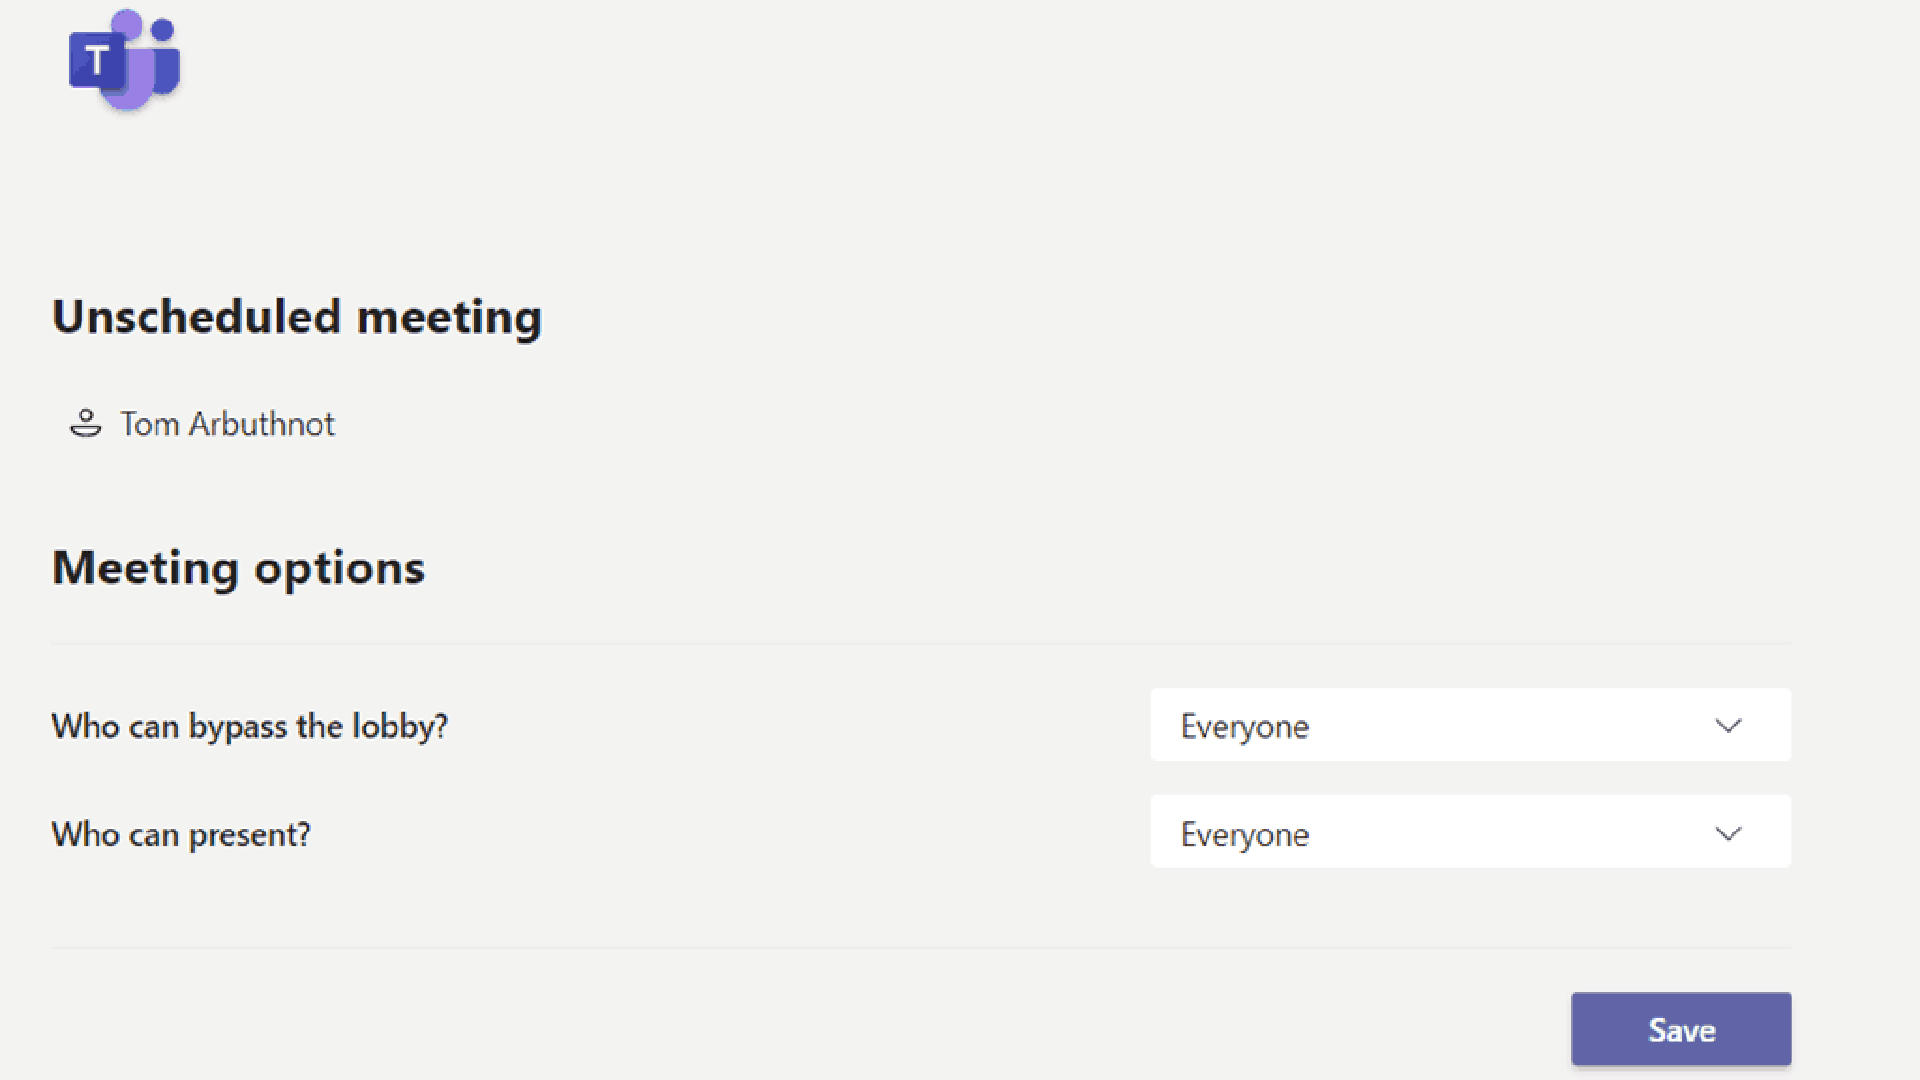
What Microsoft Teams meeting options are useful for teachers?
Once in the meeting prep page, you can select "Meeting options" at the top of the page. From here you can define who will be able to present their screen and who can manage the recording options.
So if you plan to have a group hold a presentation then you may want to leave the options open. You could also turn this off in a class scenario so only you have control.
The drop-down the options for control are "Everyone," "People in my organization," "Specific people," and "Only me."
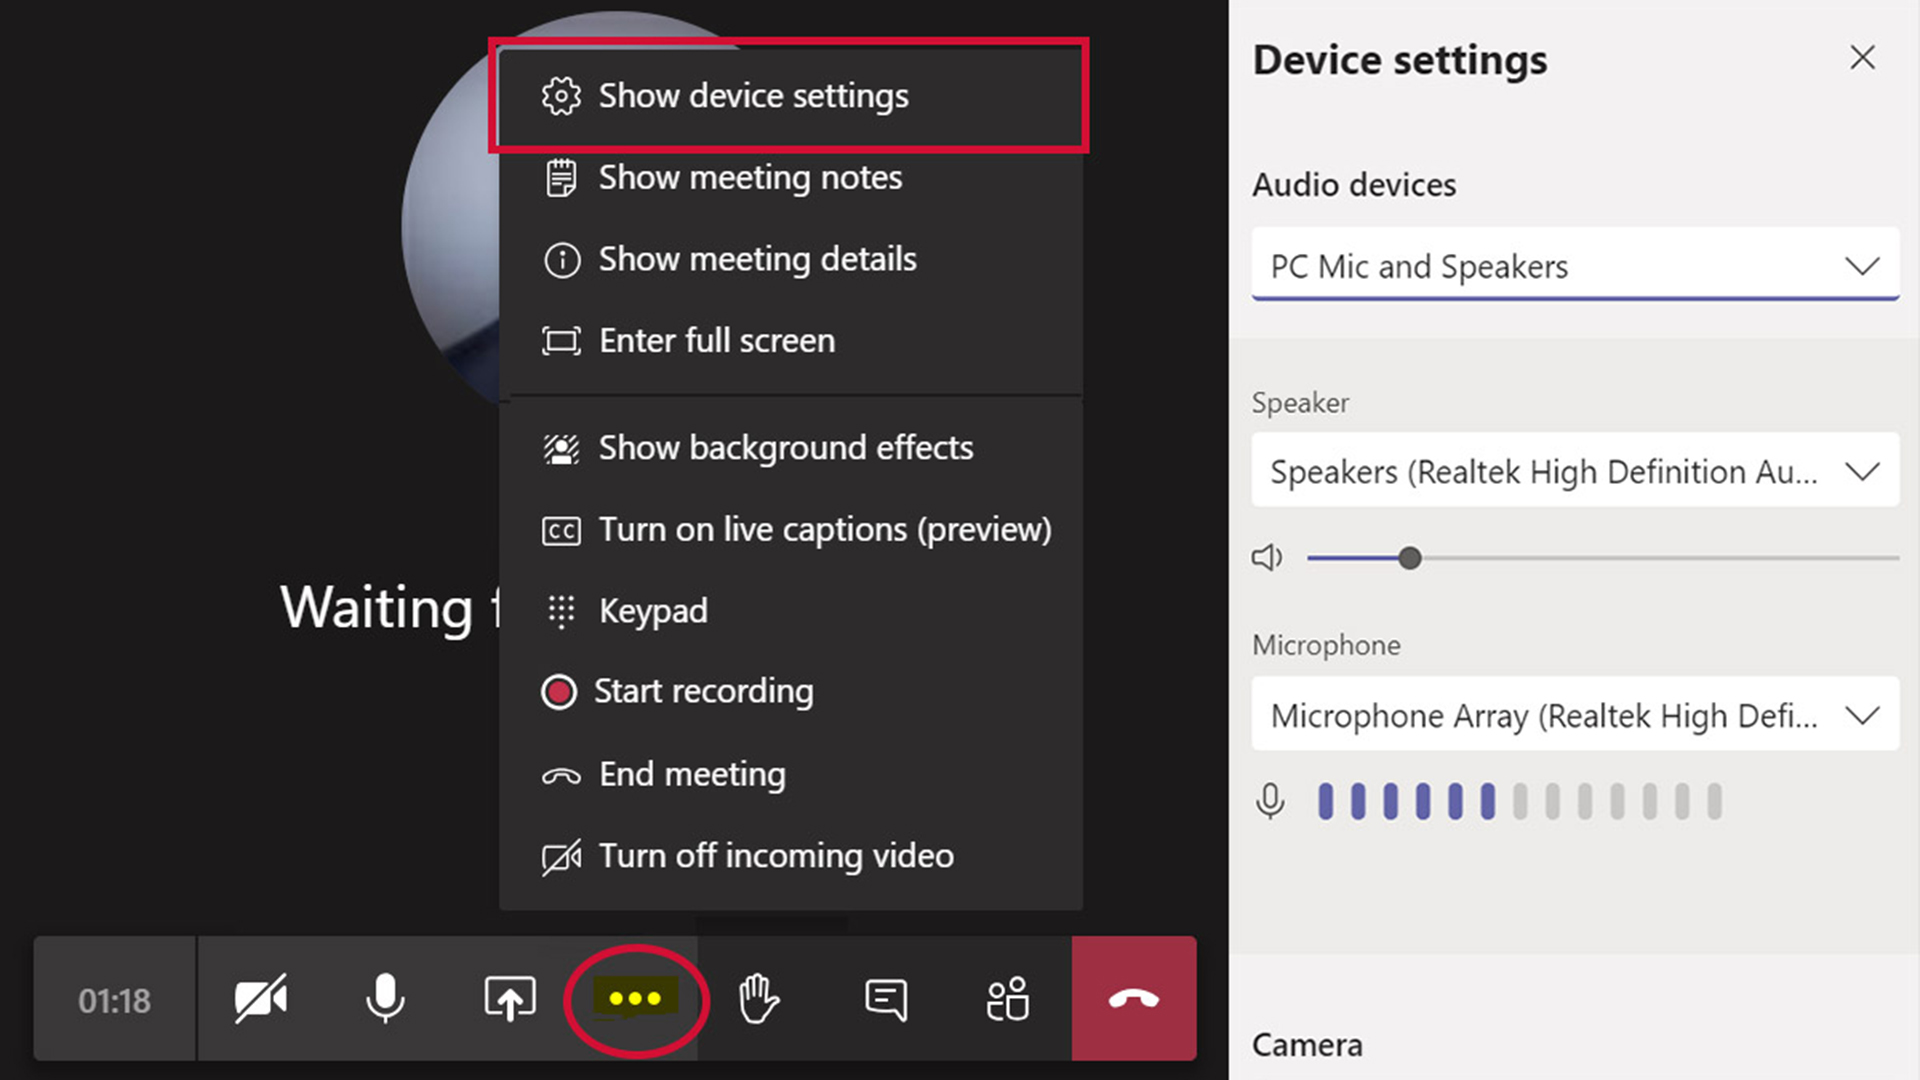
Make sure your device is setup correctly for a Microsoft Teams meeting
The classic "Can you hear me?" beginning to a meeting is not something you want to start with when working with students. To make sure you're offering a stable and well-established space for the students to enter, be sure to check your device is setup correctly before you start.
To do this, head to your profile image at the top right then scroll down and pick "Settings." In the next screen select "Devices" from the left-side menu. Or from the bottom screen bar select the menu dots and "Show device settings."
Make sure you have the correct speaker and microphone selected from the drop-down menus. You can then perform a test of each to see if all is working correctly.
If you're using devices connected to your machine, or are thinking of buying any, then it's worth checking what is compatible by visiting office.com/teamsdevices.
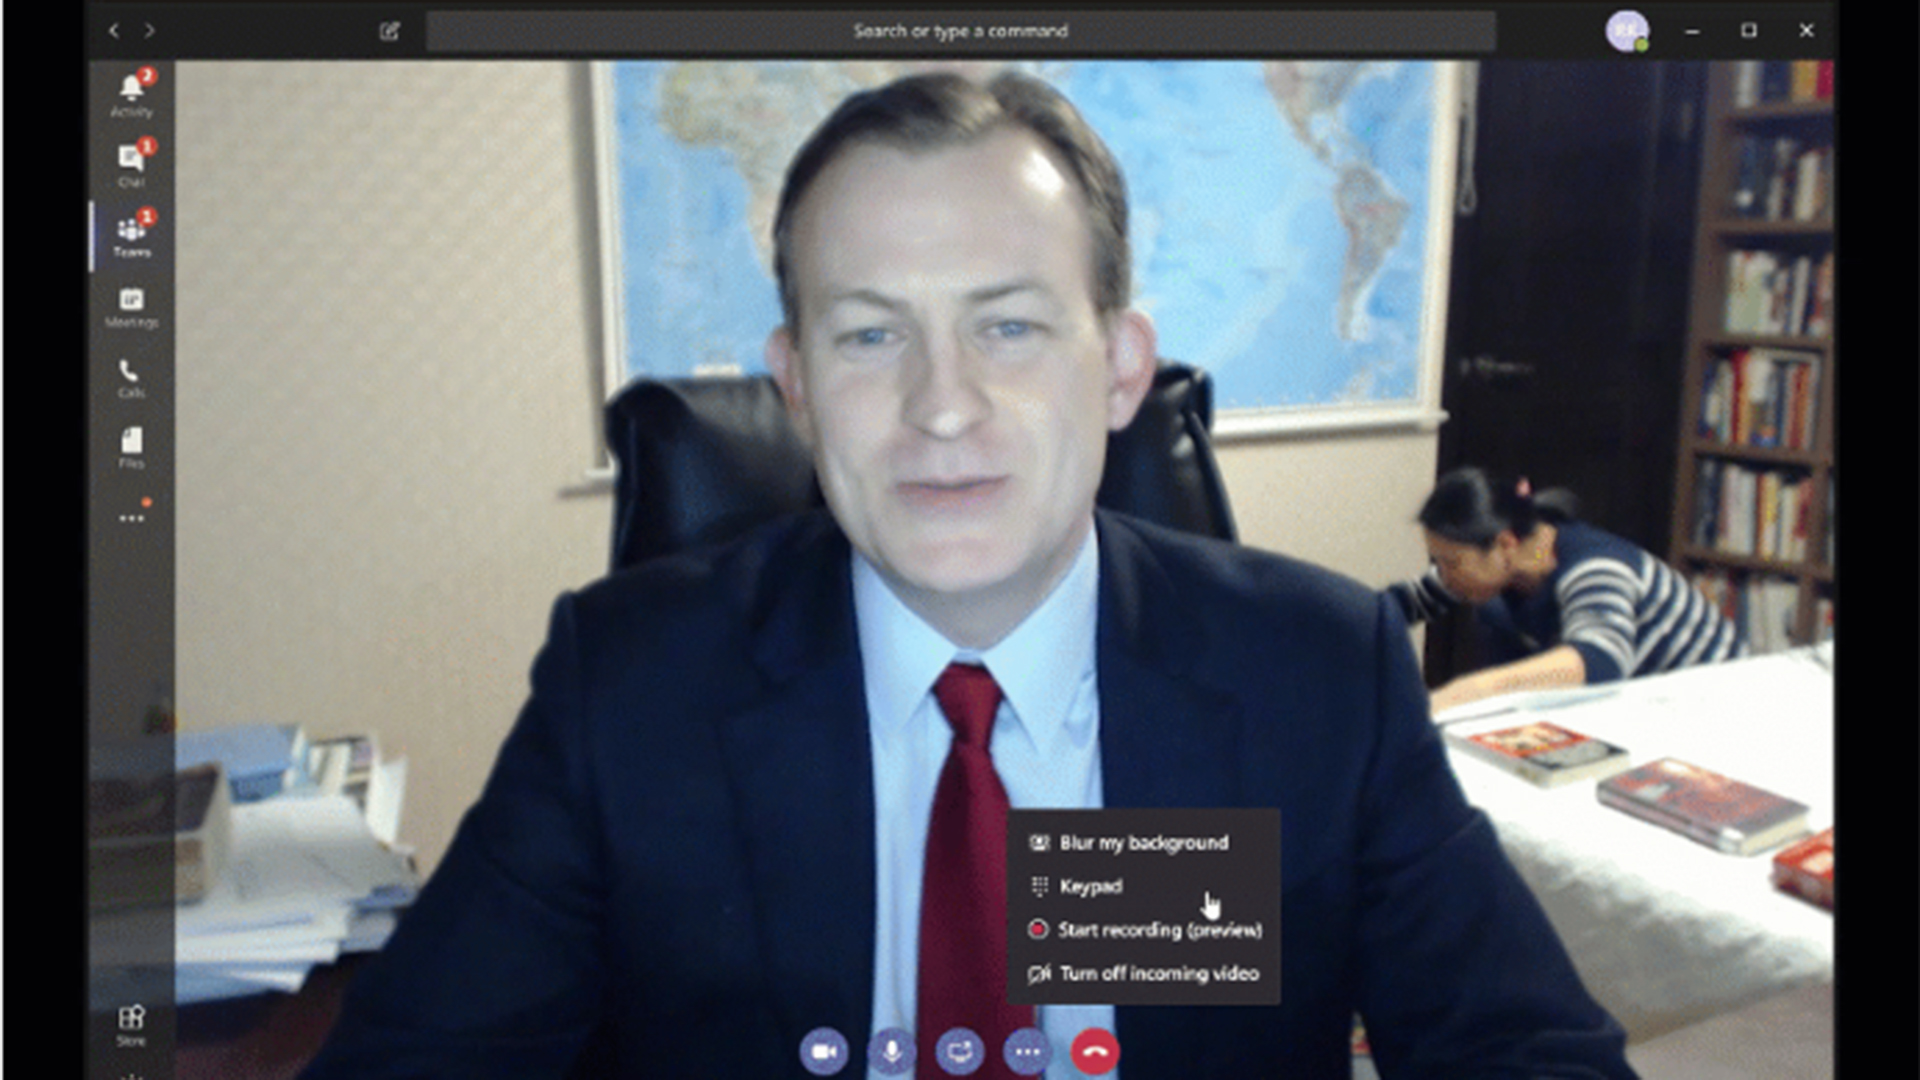
When you go into the meeting and start, you're given an opportunity to see how you look. Here you can toggle the camera and audio on and off. You can also select background blur as an option that will, as the name suggests, blur the background to hide your surroundings. This is also a great way to keep the focus on you and avoid distractions.
How to record your Microsoft Teams meeting
Once the meeting is lined up, you can then select "Join" to get started. Wait for the students to join; you can see all attendees down the right-hand side menu.
On the menu bar across the bottom there is a three dot menu button -- select this for the recording option. Recording is a great way to save a presentation so everyone can refer back to anything they might need for a follow-up assignment.
From here you have the option to select "Start recording." You'll then be informed that the recording will be found in the meeting chat or on Microsoft Stream. The latter option is in the cloud so can be accessed from any logged-in device.
A red dot is visible to indicate to everyone in the meeting that they're being recorded, but it's always best practice to alert everyone to the fact they're being recorded.
How to share content in a Microsoft Teams meeting
A video meeting is a great option to have except it's the ability to share your screen within Teams that's really special.
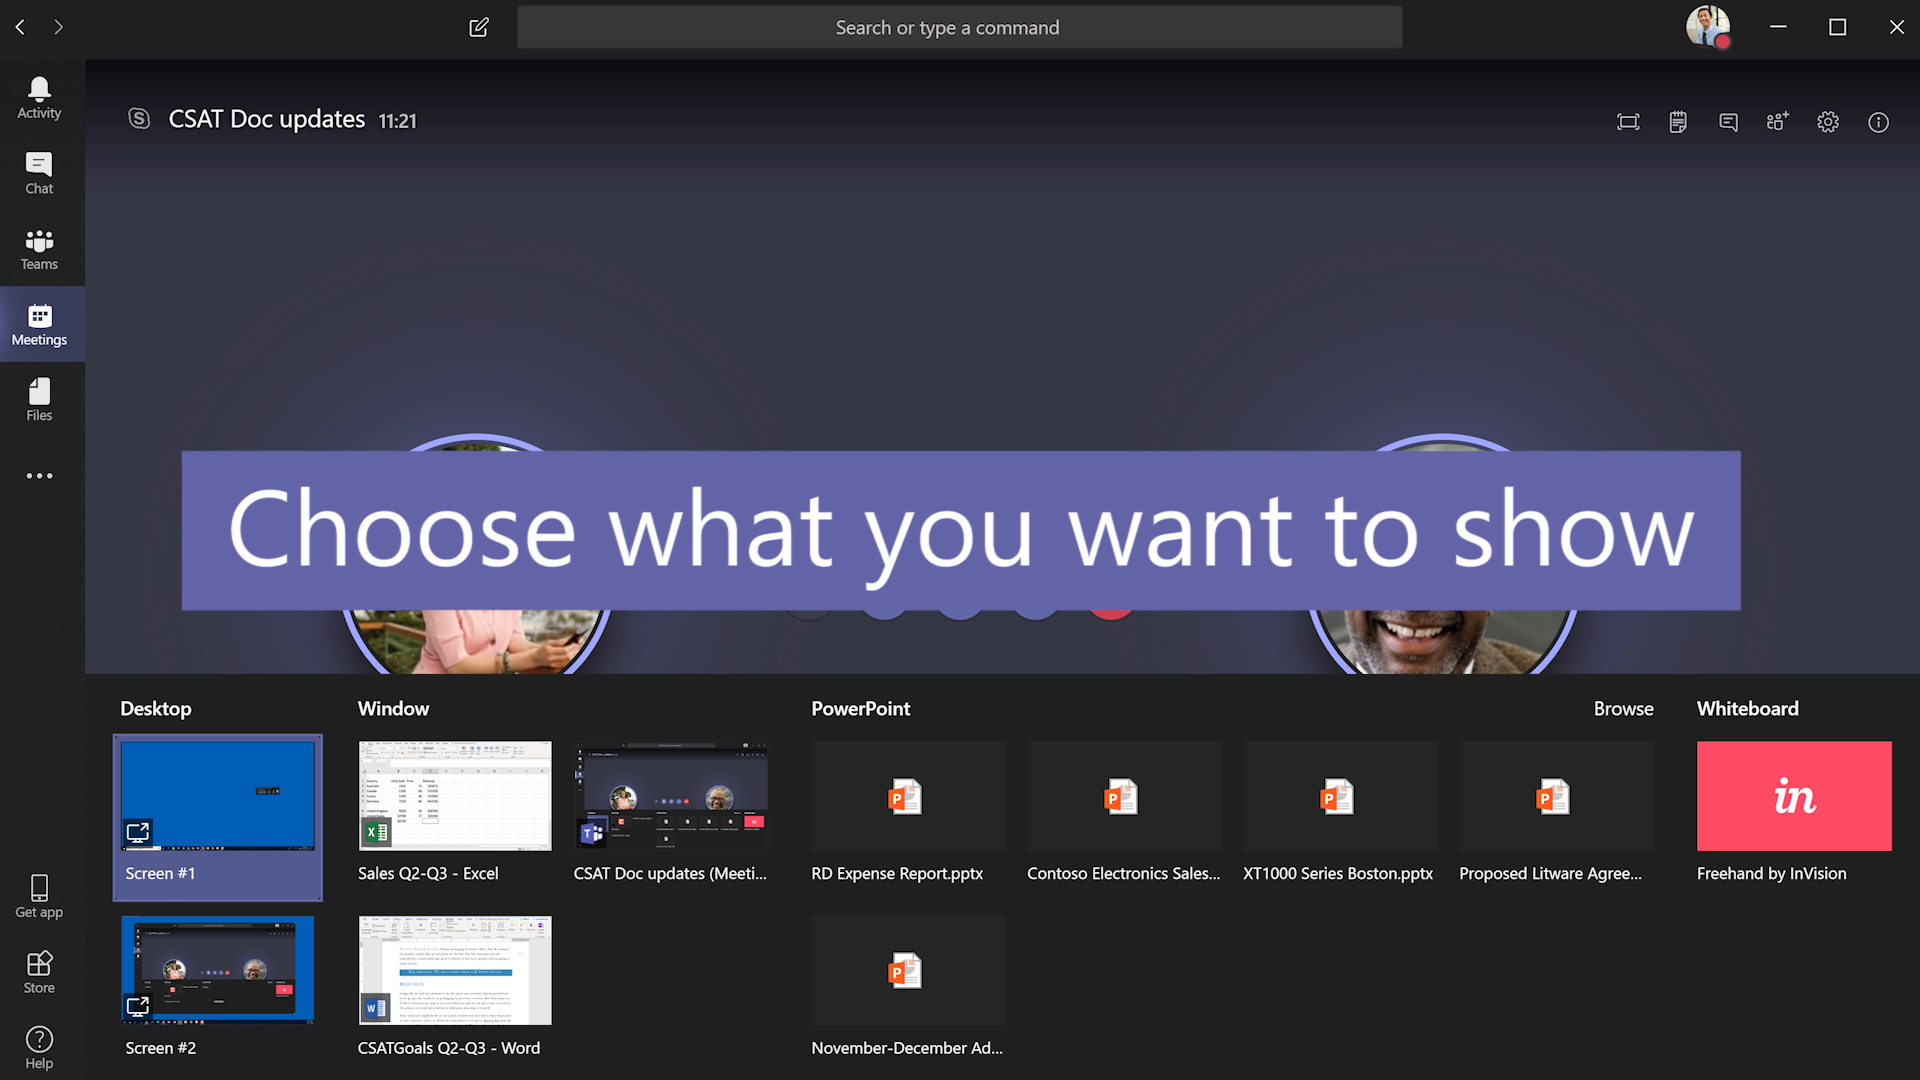
One of the simplest ways to share is to hit the "Share" button on the central menu (an icon of an arrow on a square). This then brings up the option to share either everything on the desktop or individual windows, or to collaborate together through features such as Whiteboard.
If you do select your entire desktop, be sure to check what tabs you have open or any other visible files or images so you don't have the students seeing something personal that you might not want to share.
You also have the option to select the "Browse" option to pick a file to share, such as a PowerPoint presentation. The students then have access to this file so you can guide them through.
Students can interact by coming off mute, if you offer that option. Or you can use the Conversation bar along the side to verbally respond to written responses as you present.
If you want to collaborate in real time, the Whiteboard feature allows students to also add to the space. This applies to other files as well, for example, if a student shares a PowerPoint in the Conversation window asking a question. When opened you can together work on that file in real time. This can be a great way to see if the student is making edits or corrections based on what you've said.
Luke Edwards is a freelance writer and editor with more than two decades of experience covering tech, science, and health. He writes for many publications covering health tech, software and apps, digital teaching tools, VPNs, TV, audio, smart home, antivirus, broadband, smartphones, cars and much more.
