Decorate a Christmas Tree with Google Slides
This is a great way for students to be creative and to work on their writing skills by describing or writing about their holiday traditions, plans, or memories.
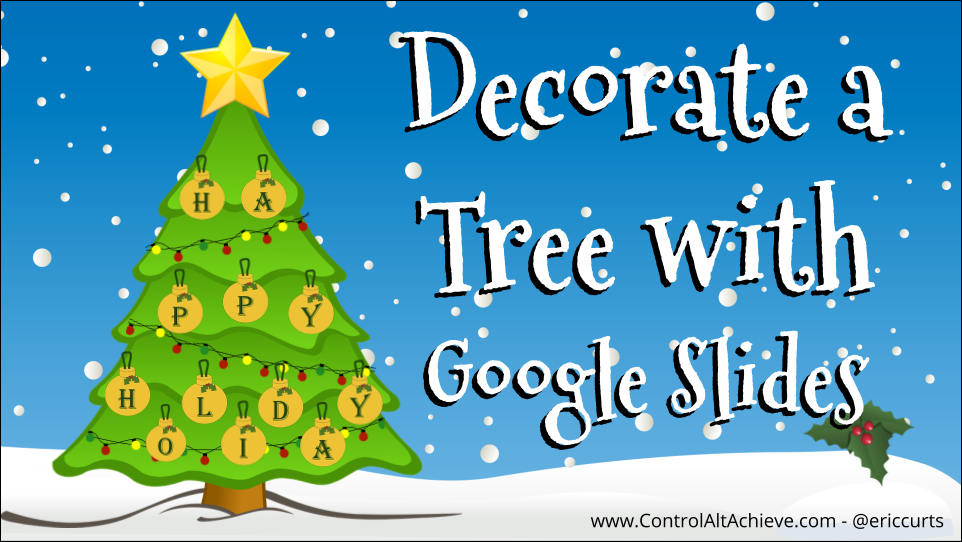
A few years back I created a Google Slides template for "Build a Snowman". Since then I have had fun making other similar templates including "Build a Jack-O-Lantern" and "One Fish Two Fish" and more. With the holidays fast approaching I decided to make a similar activity for decorating a Christmas tree.
You can do this project with this fun, and educational, Google Slides activity. This is a great way for students to be creative and to work on their writing skills by describing or writing about their holiday traditions, plans, or memories.
Here’s how:
- Make a copy of the Google Slides “Decorate a Christmas Tree” template, found further down in the blog post.
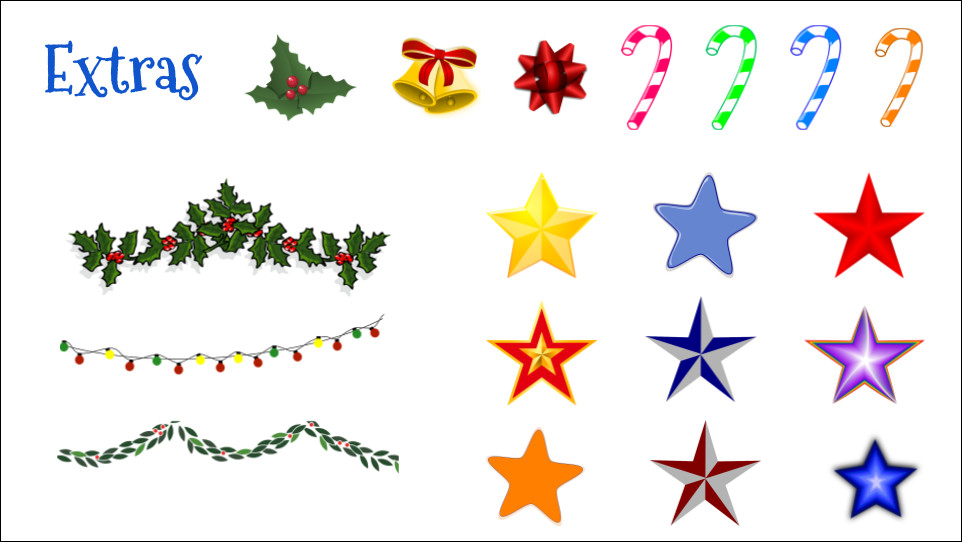
- The template has a blank tree and slides full of items to add to your tree including bulbs, lights, bells, stars, and more.
- Copy and paste the items to decorate your tree.
- If you need different pictures, you can search for more.
- You can even add or draw your own shapes as needed.
- When done decorating your tree, write about your holiday traditions, a favorite memory, your best present, what you want this year, what you are thankful for, or such.
- When all done you can download a picture of your tree and writing to share with others.
See below to get your own copy of the template, as well as more detailed directions on how to do the activity.
Get a copy of the template

This activity is created with Google Slides. To get your own copy of the template simple click the link below.
“Decorate a Christmas Tree” template - Google Slides link
Your students can click this link to get their own copy, or you can use Google Classroom to push out a copy of the template to each of your students.
What’s in the template
The Google Slide template has multiple parts for the activity. These include:
Slide 1 - The title slide
Slide 2 and 3 - A brief set of directions
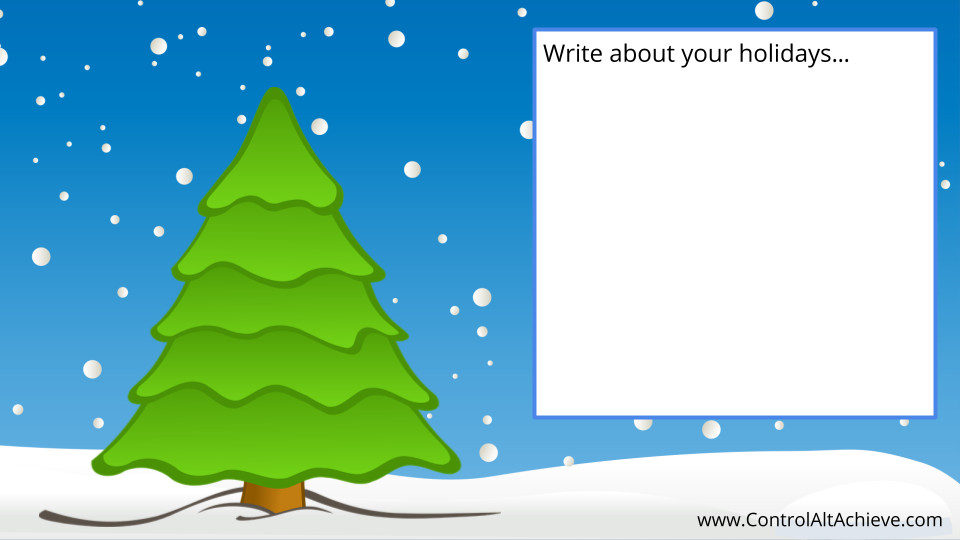
Slide 4 - The blank tree. This is where you will decorate your tree and where you will write about the holidays.
Slides 5 and 6 - Items for decorating your tree. These slides contain images that you can copy and paste onto your blank tree.
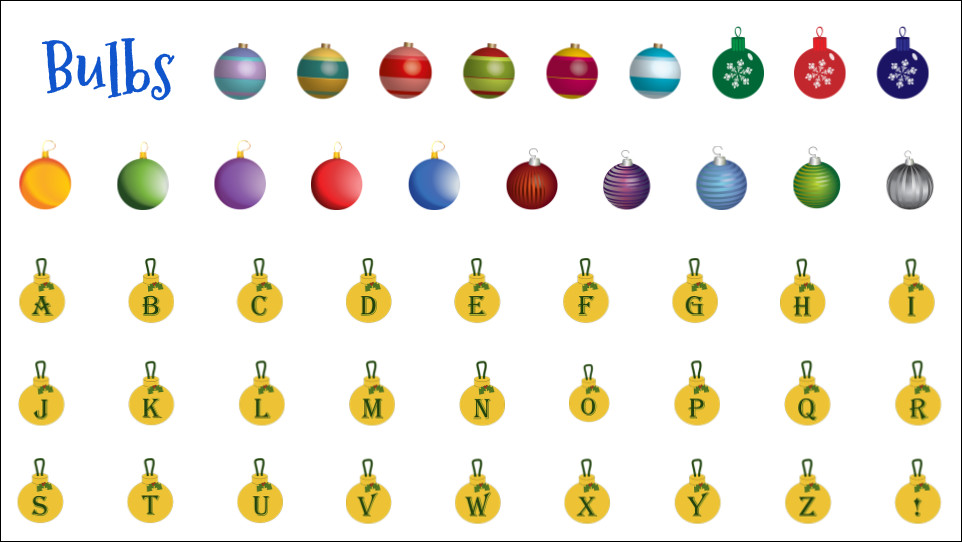
The ornaments include bulbs with each letter of the alphabet, so students can also create a message right on their tree by spelling out words.
Tech & Learning Newsletter
Tools and ideas to transform education. Sign up below.
Decorating your tree
To decorate your tree, simply copy and paste images from the items slides onto your blank tree. You can copy and paste in several ways.
To copy an item:

- Click on the picture and press “Ctrl” and “C”
- Or click on the picture and click “Edit” then “Copy” in the top menu bar.
- Or right-click on the picture and choose “Copy” from the pop-up menu.
To paste an item, go to the tree slide and:
- Press “Ctrl” and “V”
- Or click “Edit” then “Paste” in the top menu bar.
- Or right-click and choose “Paste” from the pop-up menu.
Once your item has been pasted in you can adjust it in many ways:
- Drag and drop it to move it around.
- Press the arrow keys on your keyboard to move it around.
- Hold down the “Shift” key and press the arrow keys on your keyboard to move it one pixel at a time.
- Click and drag the blue circle on top of the image to rotate the image if needed.
- Click “Arrange” in the top menu bar, then “Rotate” and “Flip horizontally” or “Flip vertically” if needed.
- Click and drag the corners of the image to change its size if desired.
- Click “Format options” in the top menu bar, and then “Recolor” to adjust the color (works better for lighter colors).
Adding other images
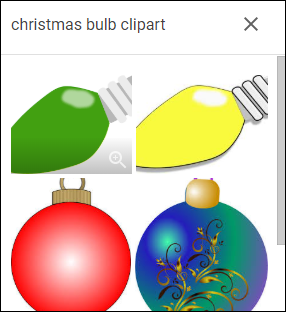
Although the template provides a large variety of items to use for your tree, you may still want to add some more of your own. You can add more images as follows:
- Click “Insert” in the top menu bar, then click “Image” then "Search the web".
- This will open a panel on the right where you can type in a search term to find the images you want.
- You may want to add "clipart" or "png" in the search box to limit your results to clip art style pictures.
- When you find an image you want, click on the image to select it, then click "Insert" at the bottom of the panel.
Creating your own images
You can also create your own ornaments for your tree by using the "Shape" tool in Slides.
- Click "Insert" then "Shape".
- Choose shapes from the "Shapes" menu or stars from the "Callouts" menu.
- After you make your shape you can color it with the "Fill color" button (paint can button).
Writing about your holidays
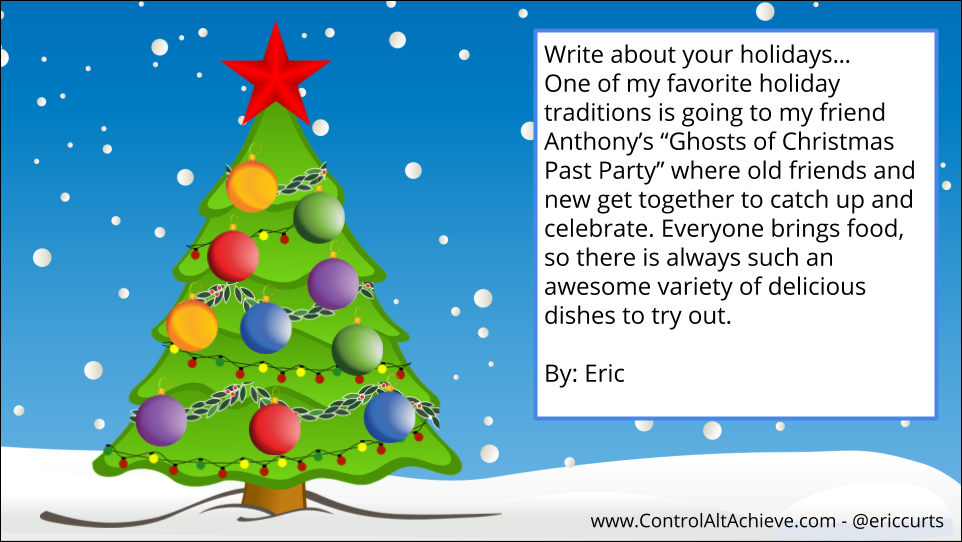
When you are done decorating your tree, now you will want to write about your holidays. You can type in the textbox to the right of your tree to enter your own writing. This could include:
- Your holiday traditions
- A favorite memory
- Your best present
- What you want this year
- What you are thankful for
- Or other holiday related topics
- Be sure to include your name at the bottom of your writing.
Downloading your Tree
When you are completely done, you can download a picture of your tree and your writing as follows:
- Make sure you are on the slide that has your completed tree and your writing.
- Click “File” in the top menu bar.
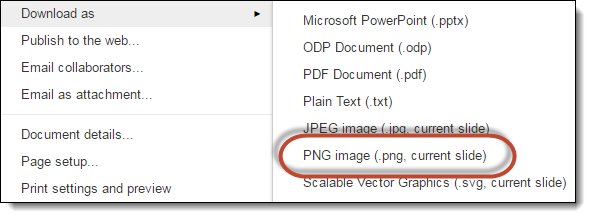
- Choose “Download as” from the drop-down menu.
- Choose “PNG image” from the sub-menu.
- This will download an image of just the slide you are on and not any of the rest of the slideshow.
You can now share your image in several ways:
- Email it to someone.
- Turn it in through Google Classroom.
- Post it on your class website.
- Share it through social media.
- Combine it with others to make a new slideshow with everyone’s creations.
Conclusion
The “Decorate a Christmas Tree” Google Slides activity can be a great way to let kids be creative and to improve their writing at the same time. One of the great things about creativity, is you never know what students will come up with. Feel free to email me images of your students’ creations. I would love to see what they make and will be glad to share some examples here to inspire others.
And for even more wintertime activities, see my earlier post on "6 Googley Wintertime Activities for Kids"
cross posted at www.controlaltachieve.com
Eric Curts is an education trainer and consultant with over 20 years' experience throughout the U.S. He is an authorized Google Education Trainer and a Google Certified Innovator. Read his blog at www.controlaltachieve.com and follow him on Google+ and @ericcurts on Twitter.
